Spray painting is a method of applying water-based paints or enamels to a surface that relies on the use of equipment with an air or high-pressure (Airless) tank, and a gun with an adjustable outlet hole depending on the type of material to be sprayed.
This technique is widely used in various sectors, such as the automotive and engineering industries, carpentry, and construction.
In this article we deal with the latter sector, namely spray painting of walls and ceilings of buildings.
Read on to find out procedures and tips.
How does spray painting work?

Principle of operation
During the spray painting process, paint is atomized into small particles and then projected onto the surface to be coated by taking advantage of the propulsion of compressed air or an inert gas.
This paint spray creates a uniform film over the area to be painted, ensuring excellent color distribution.
There are several types of spray equipment:
- Airless pump (does not use air but hydraulic pressure). Generally for professionals.
- Low-pressure air-generating equipment (Minirig). More suitable for do-it-yourself use.
- Spray cans. (The gas contained generates the pressure for the paint to escape). Suitable for covering small surfaces.
Why choose spray painting
Spray painting offers several benefits over other paint application methods. First, it allows you to achieve quick and uniform coverage of large areas, reducing your work time compared to manual painting.
In addition, this painting technique generates a finish free of imperfections, such as classic brush marks. This method also gives you greater precision and control in paint application, so it can ensure high-quality results.
However, spray painting requires care and skill to be done correctly. You must carefully prepare the surface to be painted, protect the surrounding areas from unwanted spray, and follow the manufacturer's instructions for mixing and applying the paint.
How to dilute paint for the spray gun?
Diluting paint for the spray gun depends on the type of paint used and the manufacturer's directions.
In general, one of the basic steps you must perform is to calculate the dilution ratio. The amount of thinner (in water-based paints, water) needed will depend on the desired viscosity (density) of the paint and environmental conditions.
The dilution ratio can vary between 5 percent and 30 percent, but it changes considerably depending on the situation. For example, in hot climates, you may need a higher dilution ratio to prevent the paint from drying out too quickly.
Another thing you certainly need to do is thoroughly mix the diluted paint, using a stick or stirrer. You need to put the thinner/water and paint in a suitable container and mix until smooth and homogeneous.
One more tip: Before you start spraying the paint on the wall or ceiling, try it on a test surface to make sure that the material spills out evenly and sufficiently atomized. If the material does not come out, you need to increase the dilution slightly or change the nozzle (exit hole in the gun).
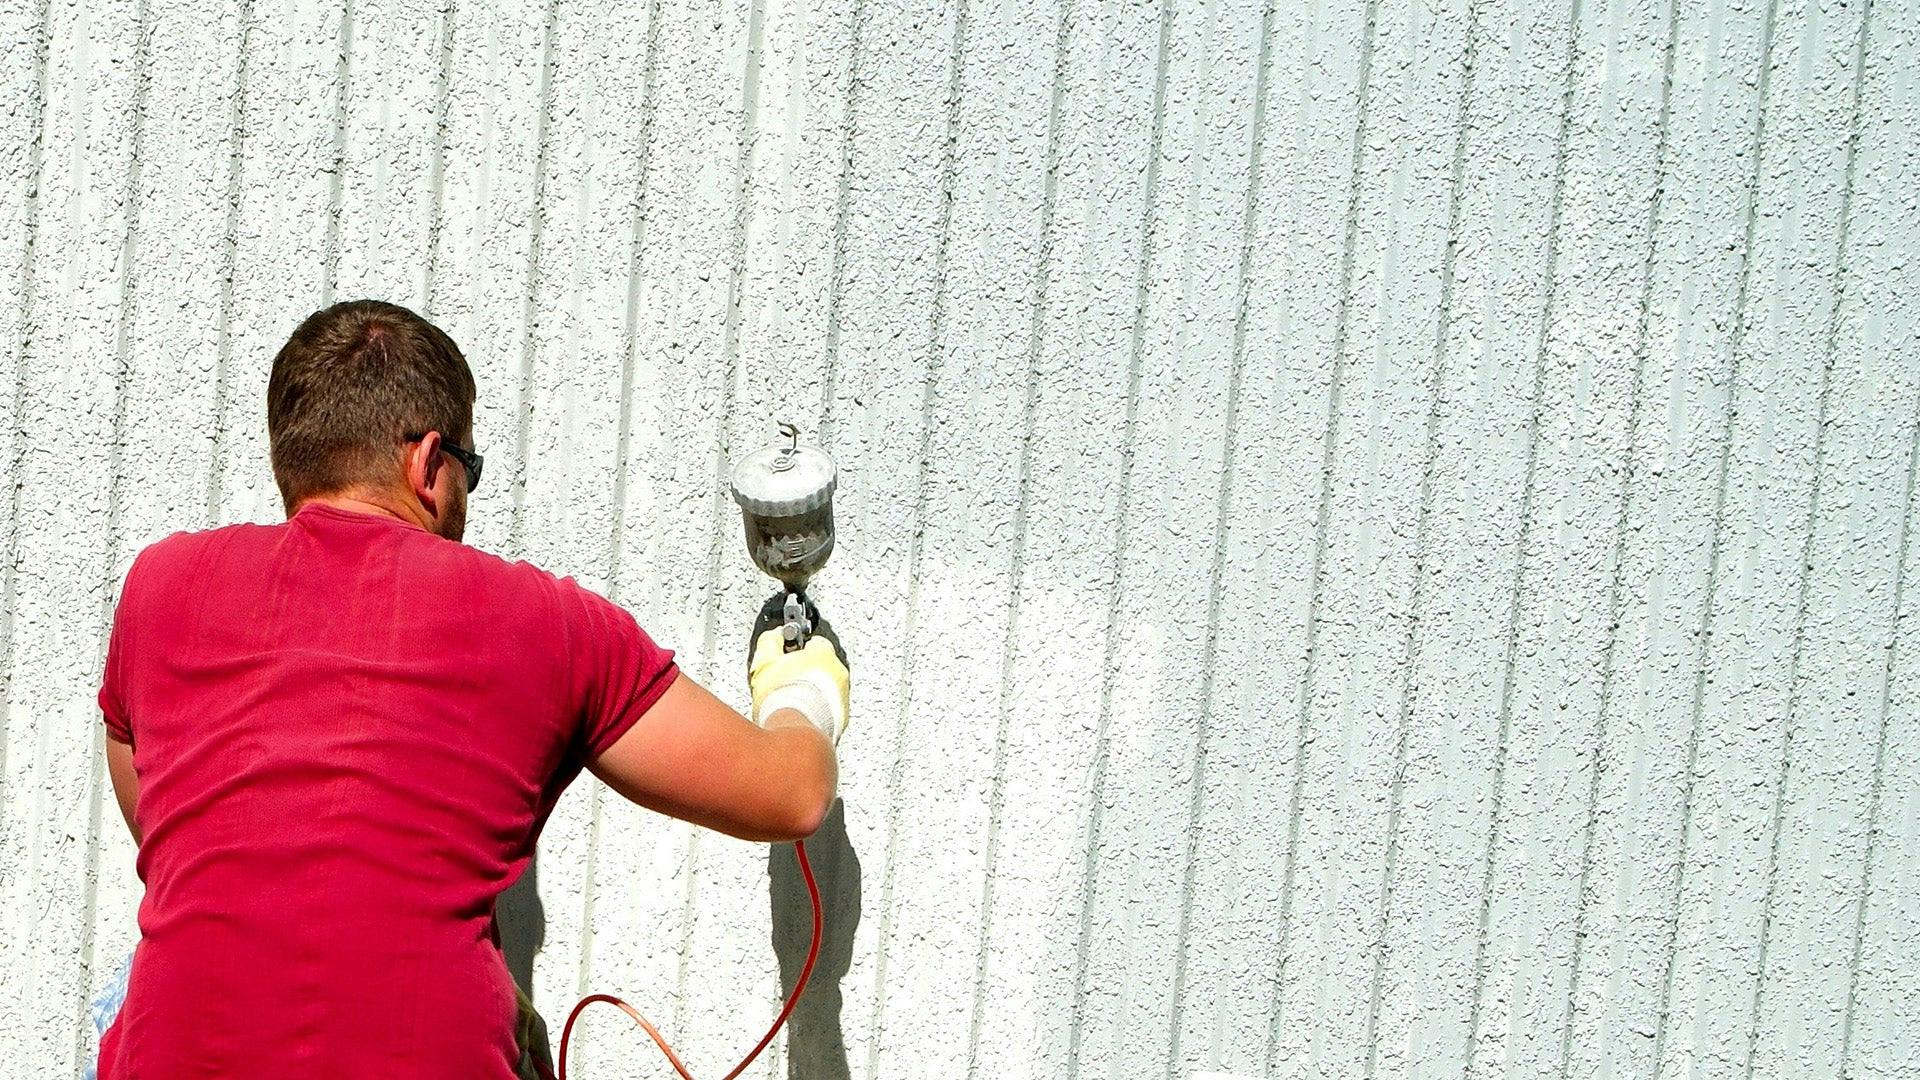
Exterior spray painting

Let's look at the basic steps to achieve high-quality spray painting of the exterior surfaces of a building.
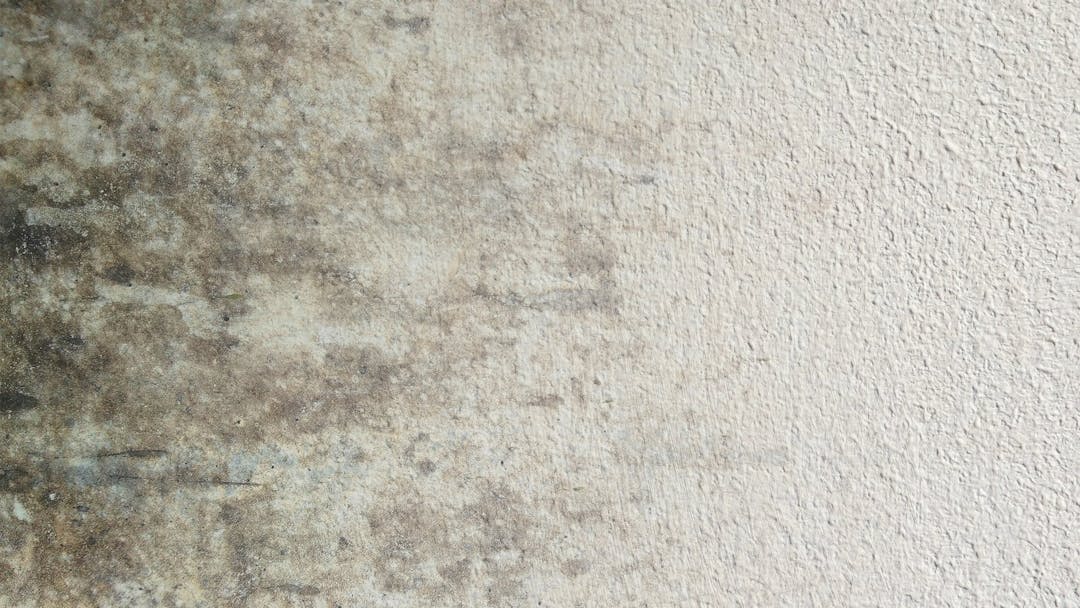
Wall preparation
Remove dirt, dust, mold, old paint residue and other obvious grime from the walls to be painted. The use of a pressure washer may be necessary.
Repair any cracks, dents or damage by applying filler and sanding rough areas.
Protect items not to be painted
Using painter's tape and sheets of plastic or paper, cover all areas and architectural elements that should not be painted, such as: windows, doors, cornices, canopies, gutters.
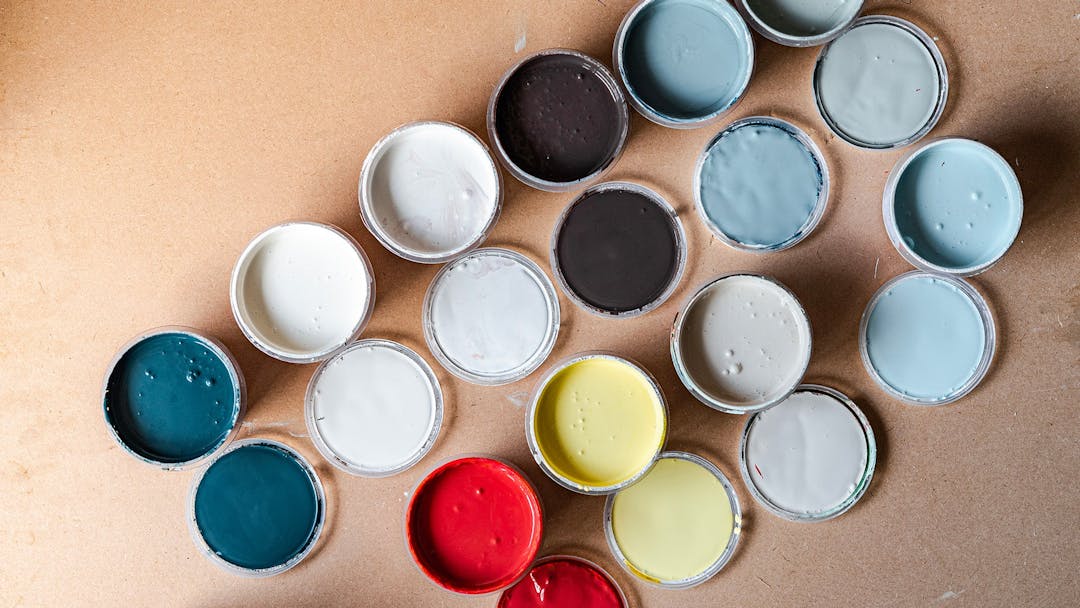
Paint selection
Select exterior paint with the right characteristics for the location of the property you need to paint. Remember that it must be weather and UV resistant.
Read the manufacturer's instructions on paint preparation and application carefully.
Preparing the spray gun
Before putting in the thinned paint, make sure the spray gun is clean and in good condition.
Check the air pressure and adjust it according to the paint and the result you want to achieve.
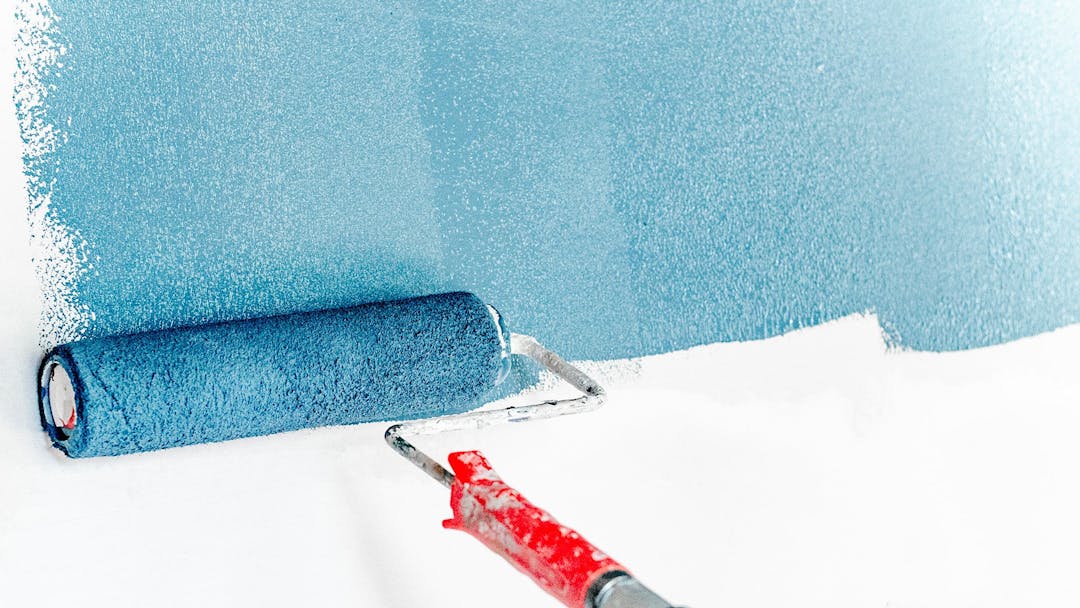
Applying the paint
Initially apply a light, even coat of paint to the wall.
Be sure to keep the gun at a constant distance from the surface to avoid buildup and streaking. Make smooth movements following a steady direction (usually go with a horizontal spray application).
Drying and touch-ups
If you have to give several coats on a wall, let the paint dry completely before spraying again.
Drying time may vary depending on weather conditions and the paint used, so follow the manufacturer's instructions.
After final drying, inspect the surface for imperfections or areas missed. Make any necessary touch-ups.
Removal of covers and cleaning
Remove tape and covering materials from doors, windows and other protected areas.
When finished, before putting away the spray gun and other tools used clean them thoroughly with the appropriate solvent according to the manufacturer's instructions.
Indoor spray painting
The steps of indoor spray painting are the same as those of outdoor spray painting, but when the rooms of a home or workplace are to be painted using this method, a number of specific cautions must be added.
Indoor spray painting usually also involves painting the ceilings, an operation that involves more care because of the location you'll be working in and the height.
Preparing the area to be painted is also more challenging if you are inside a building, because it may involve moving and covering furniture and objects, as well as protecting structural elements that must not be affected by the paint.
In addition, although it is a must to use appropriate masks so as not to inhale the paint, when using the spray technique you must make sure that there is air circulation, without, however, creating too strong currents that could deflect the flow of the gun.
Finally, to achieve perfect interior spray painting, it is essential to have good lighting. So you have to place lamps if the light in the interior environment is not enough.
Spray painting: pros and cons
In conclusion of this article we want to summarize for you the pros and cons of this painting technique.
Pros of spray painting:
-
Uniform finish.
Spray painting provides a uniform finish without visible streaks or brush strokes, which is often difficult to achieve with other methods. -
Speed and efficiency.
This technique is generally faster than brush or roller painting, making it ideal for large areas. -
Complete coverage.
Atomization of paint provides better coverage of surfaces, including areas that are difficult to reach with other methods. -
Paint savings.
Because the paint is dispersed into small particles, there is less waste than with other painting techniques.
Cons of spray painting:
-
Lengthy preparation.
Preparing surfaces and protecting surrounding areas takes time and attention. -
Equipment cleaning.
Cleaning spray guns and equipment can be a laborious process that usually requires specific solvents. -
Harmful substances in the air.
Fine particles may be released into the air during spray painting, requiring good ventilation or the use of personal protective equipment (PPE) for safety. -
Skill requirement.
This technique requires some skill and practice to achieve high-quality results without defects such as spattering or buildup. -
Initial cost.
Purchasing or renting spray painting equipment can incur significant upfront costs compared to buying brushes or rollers.
If you want to purchase eco-friendly paints that are customized in color and quantity, here's one last tip for you: