Are you thinking about geometric painting to decorate one or more rooms? Then you should know that painting squares, triangles, circles on a wall is a challenging task, but not as difficult as you might think.
By reading this article you will discover the main steps and secrets to getting walls painted with precise shapes.
Why paint walls with geometric shapes?
Painting walls with geometric shapes is a creative choice that can become a decorative element of both a home and a public place or workplace.
Lines, polygons, and circles can create a sense of visual balance and give a modern touch to the décor, as well as add a sense of order and harmony to the environment.
Through skillful use of geometry, walls with optical effects and visual illusions can be achieved. For example, a wall painted with a series of triangular shapes can create a three-dimensional or motion effect, giving depth and dynamism to a room.
This type of decoration can also be used to highlight certain areas or focal points within a room. For example, painting a wall with a geometric shape in a contrasting color can draw attention to an architectural element, a valuable piece of furniture, or a space intended for a specific function.
But that is not all there is to it. In fact, painting walls with geometric shapes offers the possibility of bringing custom, striking designs to life. The options are virtually unlimited, so by knowing the basic rules of this method of interior decoration, you can unleash your creativity.
Finally, among the answers to the question "why paint walls with geometric shapes?" we must highlight one that concerns the wallet: because it can be an economical choice to brighten up a room, without having to make major structural changes or invest in expensive decorative materials.
Secrets for painting walls with geometric shapes
The first tip we want to give you for painting the walls of your home, club, or office with geometric elements is to make a sketch on paper or digitally to test shapes and colors and evaluate the effect, thus avoiding time-consuming and expensive attempts to paint over the area you want to decorate.
During this preliminary activity you can figure out how to highlight or draw attention away from an object or architectural element and evaluate the hues that best match each other and the furniture.
Now let's go through the technical steps necessary to achieve the geometric effect you want to see on your walls.
Choose the right paint for the environment
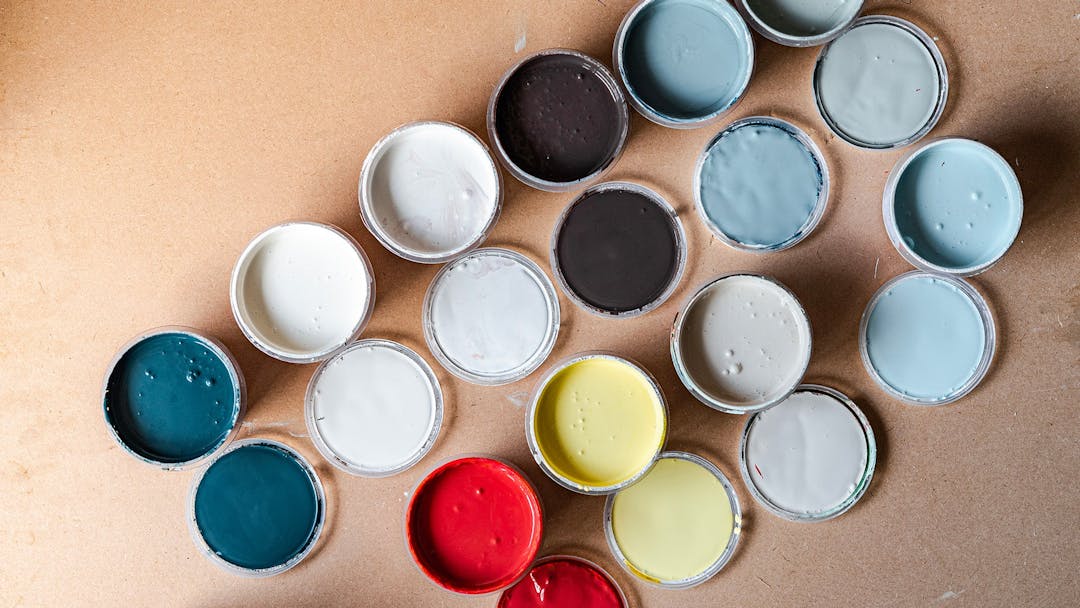
The range of paints on the market is truly vast, and can vary significantly in price. They range from the very inexpensive tempera to superwashable paints that, however, have much higher costs.
Our advice in all rooms of the house is to opt for a washable paint and especially based on acrylic resins, which guarantees durability and low dirt grip in the environment.
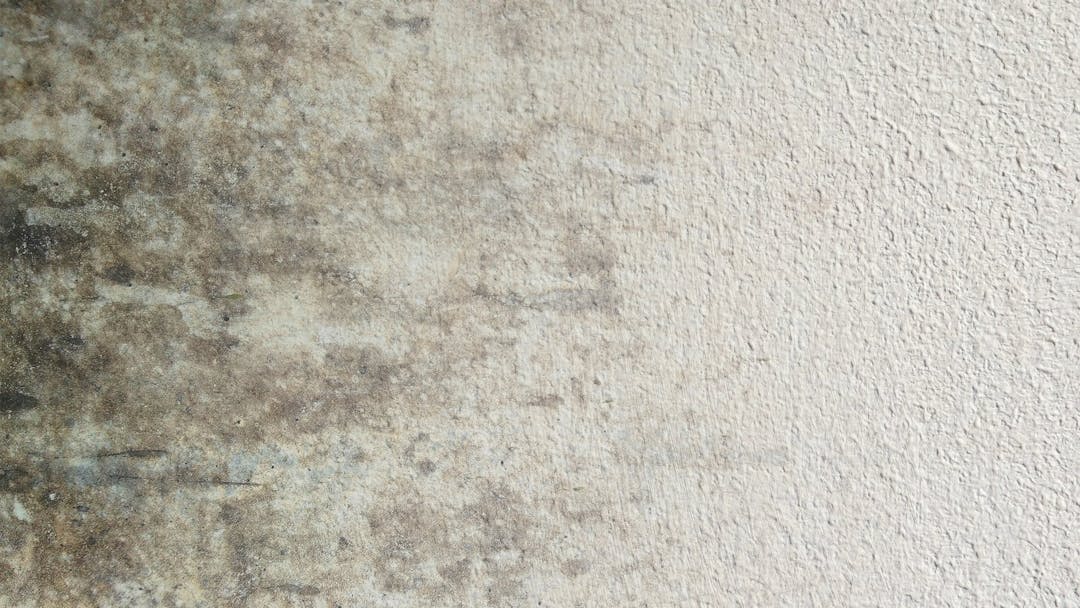
Consider that breathable paint has a very high absorption, so it will blacken quickly in any room of the house (for example, the classic areas near radiators, stoves or heat sources).
In the case of bathrooms, kitchens and bedrooms, it is advisable to use superwashable anti-mold paints.
Prepare and Protect
Prepare the wall by removing any traces of old paint, sanding and cleaning the surface to ensure proper adhesion to the new paint.
Protect the floor and surrounding objects with tarps and tape so that they do not get dirty and, therefore, do not waste as much time in final cleaning.
Paint the wall with a background color
Whether white or colored, the background color of your wall is a key element, because it will outline lines or fill in areas that you later cover with tape.
Follow the design you made, so you won't have any surprises at the end of the job.
Measure and report the design on the wall
Take a pencil, ruler and/or rigid tape measure, painter's tape, carefully measure the wall and report the geometric design you have previously made on paper or on your computer.
Be sure to be precise in your measurements to achieve a uniform result. Make light lines with pencil, which you will cover with tape only when you are satisfied with the result.
Remember that you can choose tape of different widths, depending on the thickness of the polygon lines and the rounded shapes you want to make.
Paint the geometric shapes
Using the colors you selected for the geometric shapes you want to make on your wall, carefully paint inside the areas bounded by the tape.
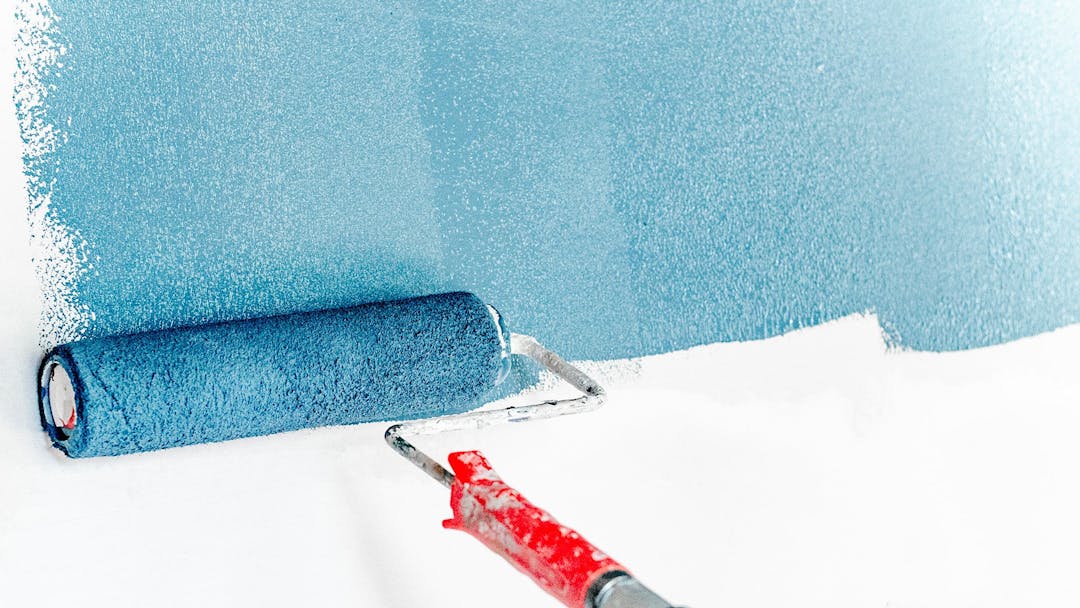
You can use brushes or the roller, depending on the size of the area you need to paint, but be careful not to go beyond the perimeter described with the tape.
Drying and tape removal
Let the paint dry completely and carefully remove the tape. It is important not to rush and pay attention to this step, as it can affect the accuracy of the lines.
If you notice small flaws or smudges, make touch-ups with a small brush to make the perimeters of the geometric shapes sharp, just as this type of decoration requires.
Which shapes to choose for your geometric painting: some tips
In addition to the technical steps we have outlined, we want to give you some pointers on the main visual effects generated by various geometric shapes.
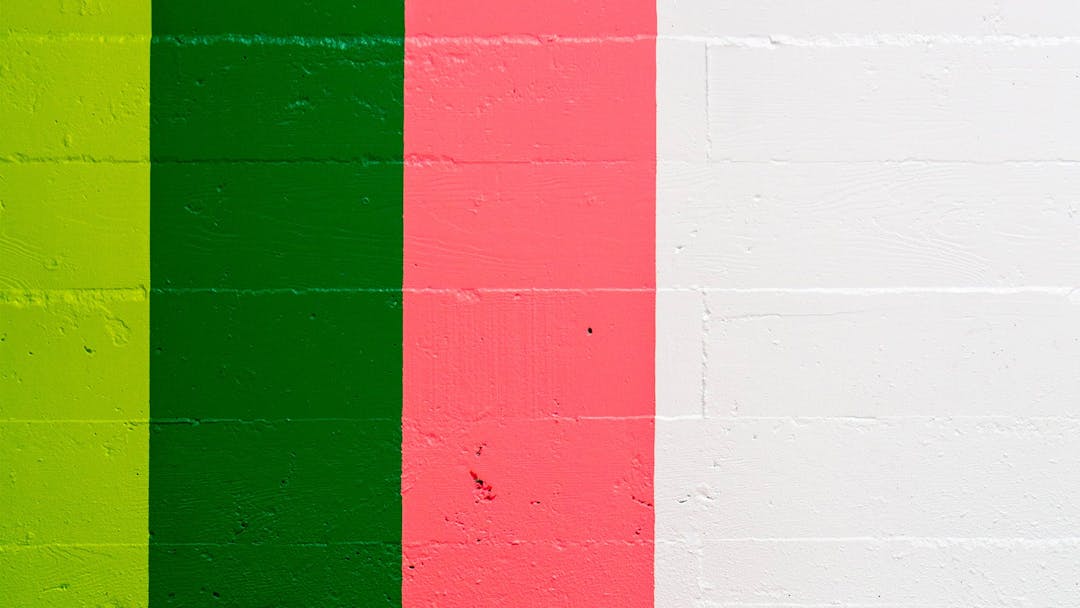
Vertical lines are perfect for a wall that is not very high, because these shapes tend to slender the area.
Horizontal lines give an effect of dilating the space, which therefore looks wider to the eye.
The size of the line is also important, because it determines the harmoniousness of the composition. In general, the rule is: paint large lines if the wall is wide, and make less thick lines if the wall is small.
If you want to highlight a point on the wall, draw scalene triangles with the acute vertices touching, basically like arrows all pointing toward the same target.
One last tip: Be careful not to go overboard with geometric paint, because it can create a somewhat overwhelming effect if applied to all the walls in a room. In fact, usually this particular decoration is chosen for only one wall, which becomes the focal point of the room.


